

NAW
-
Posts
4,022 -
Joined
-
Last visited
-
Days Won
6
Content Type
Events
Profiles
Forums
Store
Posts posted by NAW
-
-
Looks great.

If I come across a deal, I'll be sure to send it to you for a tuneup.

Thanks man! PM me if you end up buy a gun that needs a little work. They are easy to re-finish. I would be more the happy to pass down the pointers that where passed down to me.
Great job Nick
 Looks mint Love how the grain came out on the stock
  Let us know how it shoots
Thanks Jaques. Should be a tack driver!
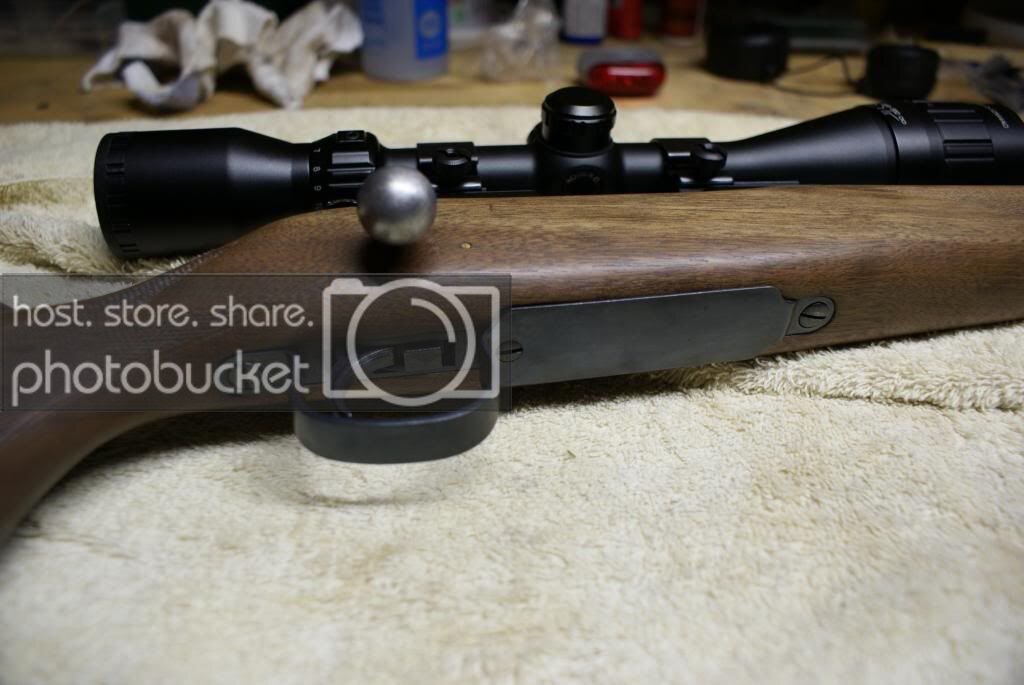
Looks like the new scope is placed way back from the original. Scope rule of thumb is for end to be about 1 1/2 inch behind trigger. Careful you don't get an 'eyering' when you shoot where the scope hits/cuts you around your sight eye. Put a coat on and close your eyes and raise the gun to your shoulder putting cheek onto stock like you're gonna shoot. Open your eyes to figure where the scope should be slid to for proper targetting. If the action won't work due to scope width then go with higher mounts.
I knew someone would notice that!
The new scope is longer than the old one. So that is one reason for the difference. Also, the old scope was mounted by the previous owner at least 25 years ago. The gun is from the 50's. So when he mounted the scope, he had to drill and tap new holes for mounting the scope bases. Using the existing holes, this was the only position I could make it work.
Fortunately, the scope placement works perfect for how I shoulder the gun. There won't be any rings around my eyes! Plus, this gun has very little kick.
Thanks for commenting on that though. I've mounted a few scopes in my day, and that's always the first thing on my mind!
Oh, and the action clear the scope by under 1/4". I will have to cycle some rounds thru, and make sure they don'y ting the scope on the way out!
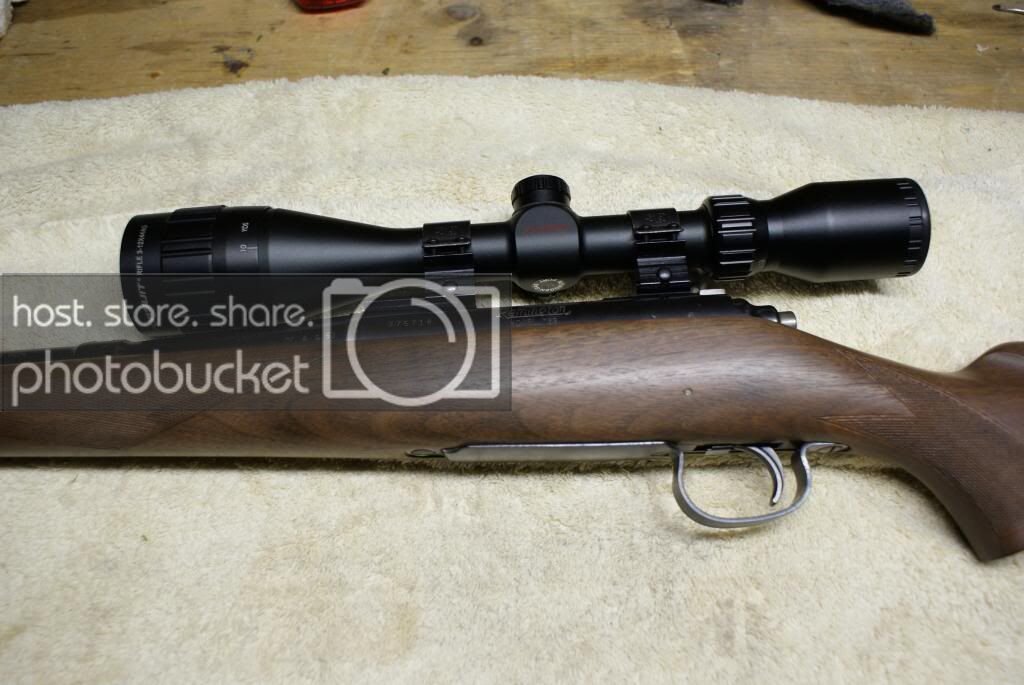
That looks like a new gun. Now, bore site it, get the scope set up and fire a few groups to see how it shoots.
That's the plan. This weekend! I really can not believe how well the gun came out. It really does look like a new gun. And it's around 60 years old!!
-
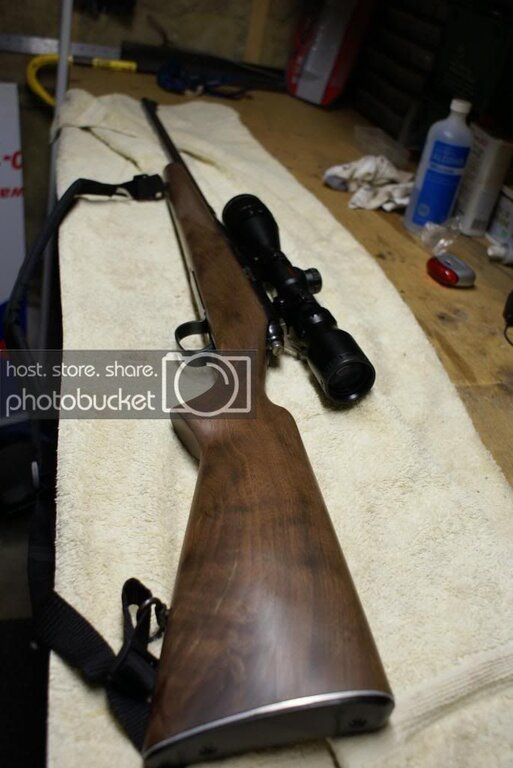
I wanted it ready for January, and it is!
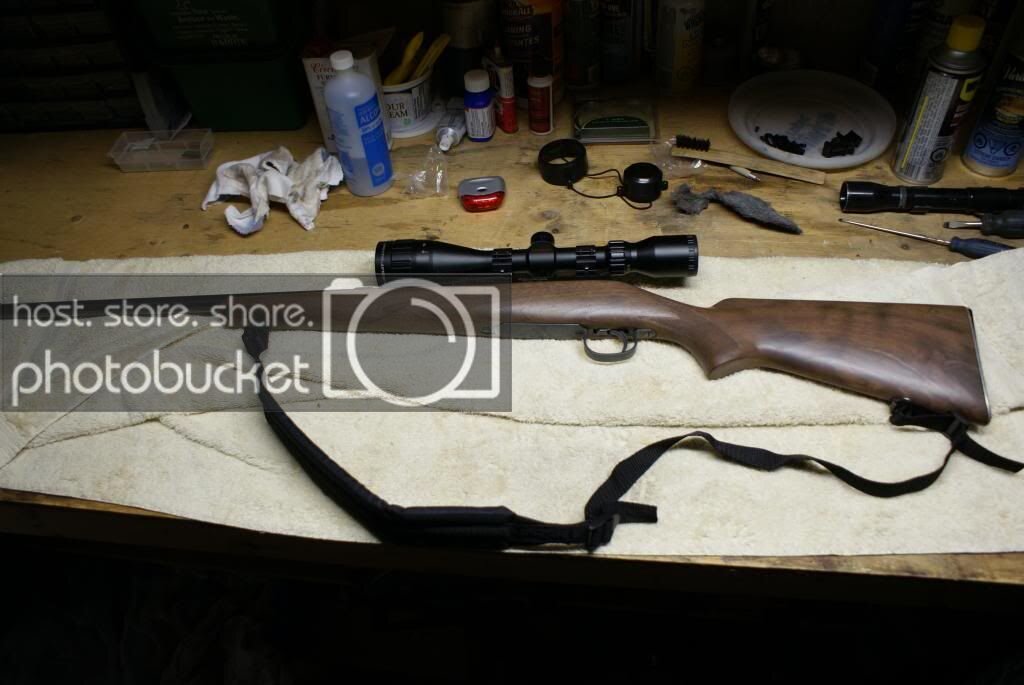
The gun turned out great. I tried a technique to raise the grain by using a damp cloth and a torch. It worked well. Then I hand rubbed the stock to get the finish I was looking for.
The rust came off the barrel pretty good. Some spots are beyond repair with out sending the barrel our for bluing after.
I stripped the trigger guard and some other components down to bare steel and re-blue'd them my self.
The finishing touch was a new scope that I grabbed at BPS earlier today.
For those who wanted to see the finished result, here it is! Just a little detail work required around the grips, and she's ready to hammer some yotes!!


-
Great report Mike!
Your annual season recap reports keep getting better and better. Can't wait for next year!
OFC has watched you go from a learning fisherman, so a seasoned vet, out there fishing with the pro's. Very cool to see!
-
"First" winter storm of the year?
This will be the second for my area. We had over a foot of snow the other week.
-
Looks a season for the books!
-
I've been seeing these posters up on facebook.
Thanks for posting Blair. I was going to ask the question here about what the hell was going on.
-
Not really fitting with the current theme...
But this is what's got me started this morning..
Worked an 18 hour day yesterday.. Need loud music to keep me awake.
https://www.youtube.com/watch?feature=endscreen&v=_B0w5Jub9Vk&NR=1
Not sure why this ling is not working...
-
Getting the itch real bad!
-
I like the last night shot of the entire planet. It always amazes me the vast areas of black. Absolutely no pun intended at all. But Africa has very few clusters of lights large enough to see from space. Himalayas, South America, etc.. Basically from Northbay up. So much to explore.
-
That's wild for sure. Never seen anything like that.
Any guesses at the Value?
-
Does this mean I can remove the NF tag on this thread?
You can use them for bow fishing.
Definitely fishing related
-
Ive used them, and no doubt....
All of the mechanical designers are chiming in!
Maybe in 50 years they will have an affordable scanner. But for now, if you want an portable battery powered hand scanner (accompanied by a powerful laptop computer to run it), you are likely looking in the $20,000 to $30,000 range.
http://www.qualitymag.com/articles/84339-competition-rising-in-portable-cmms
The printer it's self. One big enough to do a 60" musky mount, and make it look real. I guessing is going to be $100,000 +. You can get cheap ones from $500 to $3500. But they only print one colour of plastic, and are really grainy looking when done.
Amazing technology. I can't wait to see what they are like in 50 years!
-
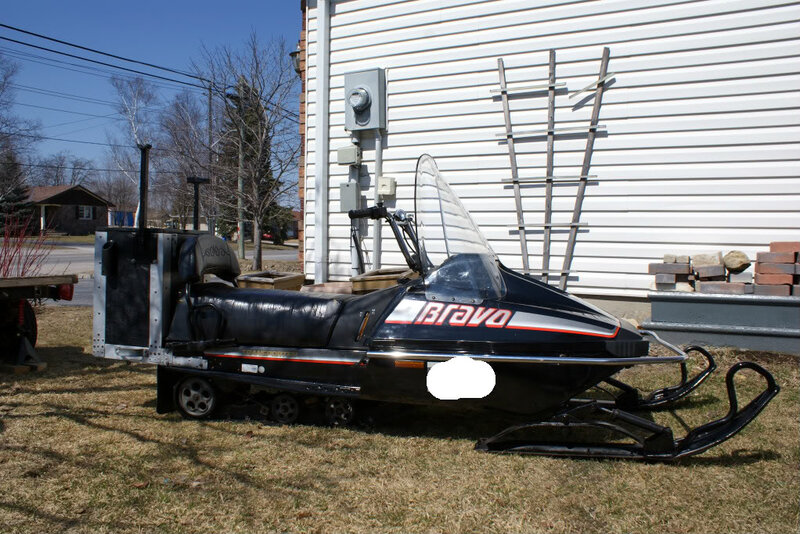
Nick, did you make that rear auger bracket yourself? That's the only thing I'm missing on my sled. I'd love a setup similar to yours so when I'm ripping around by myself, there's no need to tow anything.
Ya. It kind of morphed over time. Started as a simple storage box for tackle/finder/etc.. then rod holders, then a tow hitch, then the auger rack. This year I need to add a feature to mount my spud pole!
If I had to do it all over again from scratch it would look a little different.
The bravo has a small gas tank, so the box was designed to fit a 5 gallon spare gas tank.
The Auger brackets where easy to make. Some steel plates, and square tube welded together.
-
Cool design. Thanks for posting.
Looks like a really heavy weapon.
If you are so weak (injured, elderly,disabled,etc...) that you can't draw a crossbow, then I doubt you would want to lug that beast into the back 40!
I also wonder about the legalities of an auto loading cross bow. A limit on bolts in the "magazine"??
-
I guess so in a bit of a way...
I mow the lawn to make the wife happy. Then I use the brownie points I scored to go fishing!
Does that count?
-
Decent season for sure!
And X2 on the girlfriend! Looks like she can out fish a few of the folks here! Well... Me anyways

-
Great way to start the day!
Awesome video Ben
-
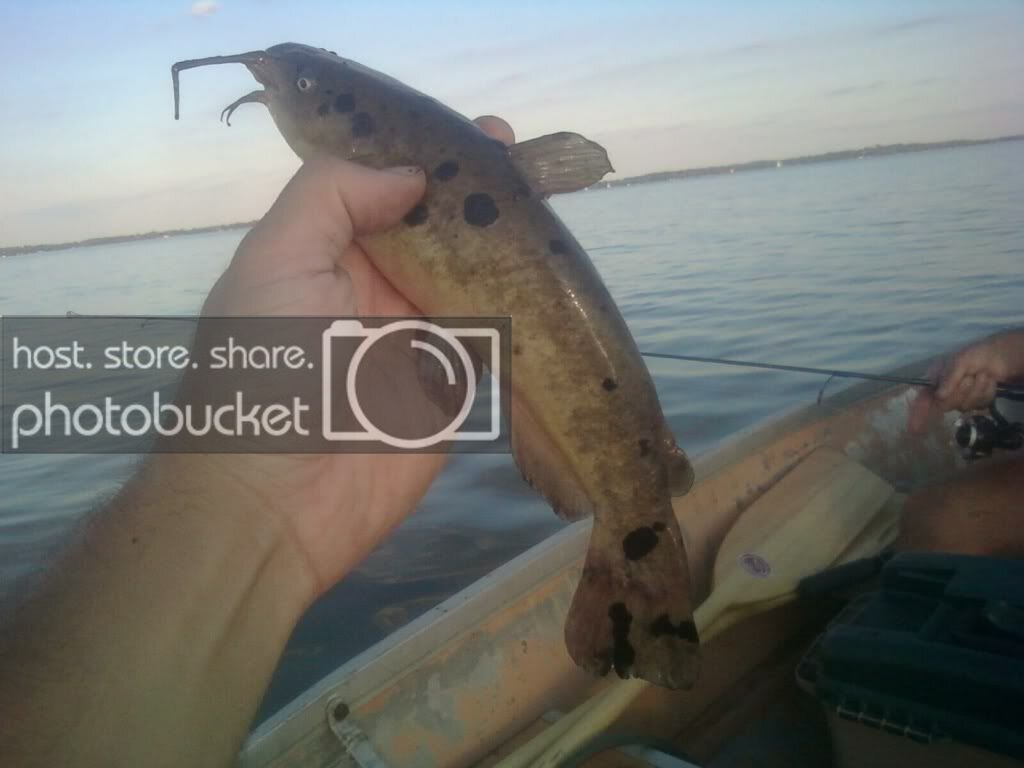
I posted something about black spots on catfish from the Holland River..
But there was no real solid answer as to what was causing it.
Not sure if that's the one your looking for Brian?
-
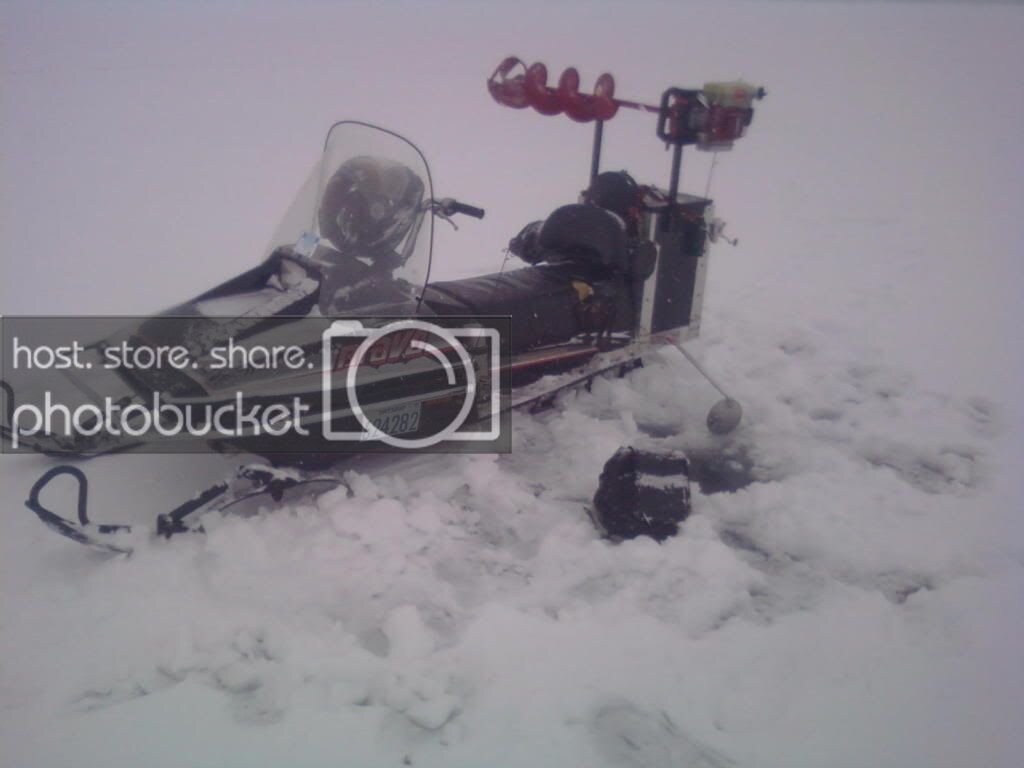
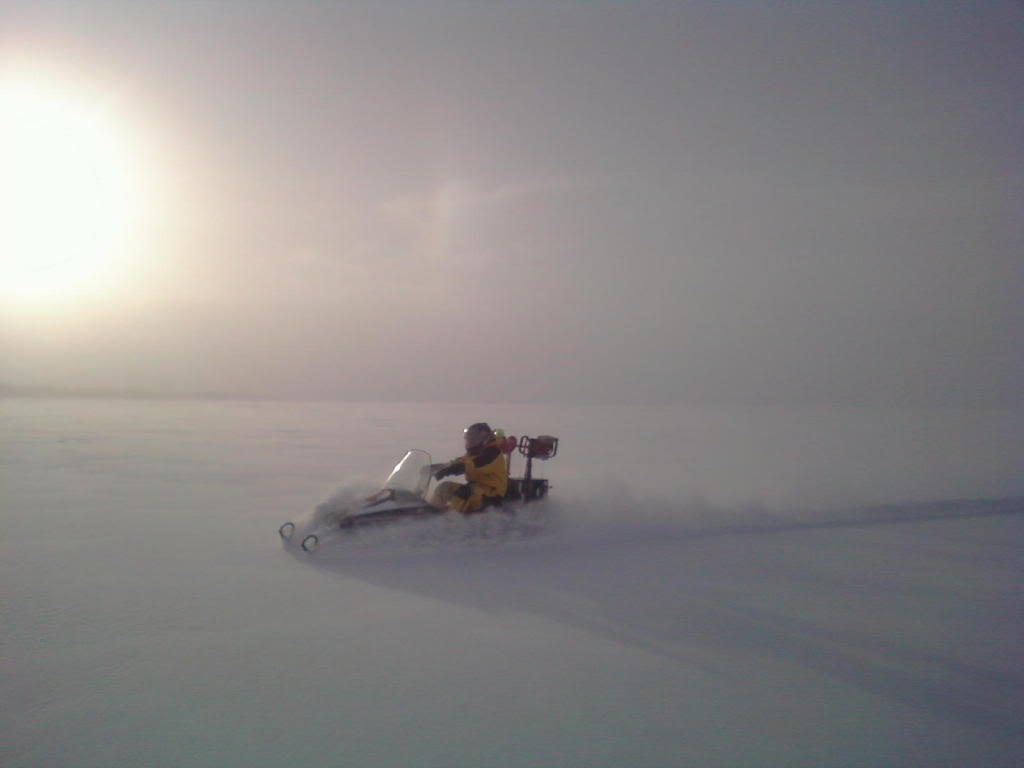
I love this photo!
Sled needed some work after that. I forgot to close the powder flap on the front. Sucked in a TON of snow. I didn't realize. The snow melted a bit, then when I turned my sled off, it all froze! EVERYTHING was frozen in a block of ice.....
Simcoe two years ago.
-
I've seen it before on catfish out of Simcoe.
-
Took her for a rip the other day to go fetch my ground blind. The foot of snow we had earlier in the week collapsed my blind, and ripped big opening in the side.
Sled started on the 3rd pull, and ran like a charm!
89ish Bravo. Gutless machine, but I love it! I can lift the back (or front) with one arm)

-
Welcome back man! Congrats on the new outlook on life!
-
Unless your son his incredibly small...That's a huge perch!
-
thanks for posting these photos. Great way to start the week.
I remember seeing some of them before. Really great shots!
Coyote Gun Restoration - Warning - Graphic Images**
in General Discussion
Posted
I already have one